Shopping cart
How to Make a (Christmas) Lantern
March 18, 2024

This holiday tutorial for decoration is perfect for at home or in your garden.
Today we are making easy wooden lanterns to brighten up your holiday! This project can be made in all different sizes so if you want to experiment with larger or smaller lanterns go ahead!
4 hours
- 15 x 15 inch board
- 1 inch square beams
- 8 spacers (10 inch)
- 4 legs (20 inch)
- Vase and/or decorations
- Miter saw or hand saw
- Wood glue
- Hammer
- Sand paper
- Nails or nail gun
- 4 x wood screws
- Screwdriver
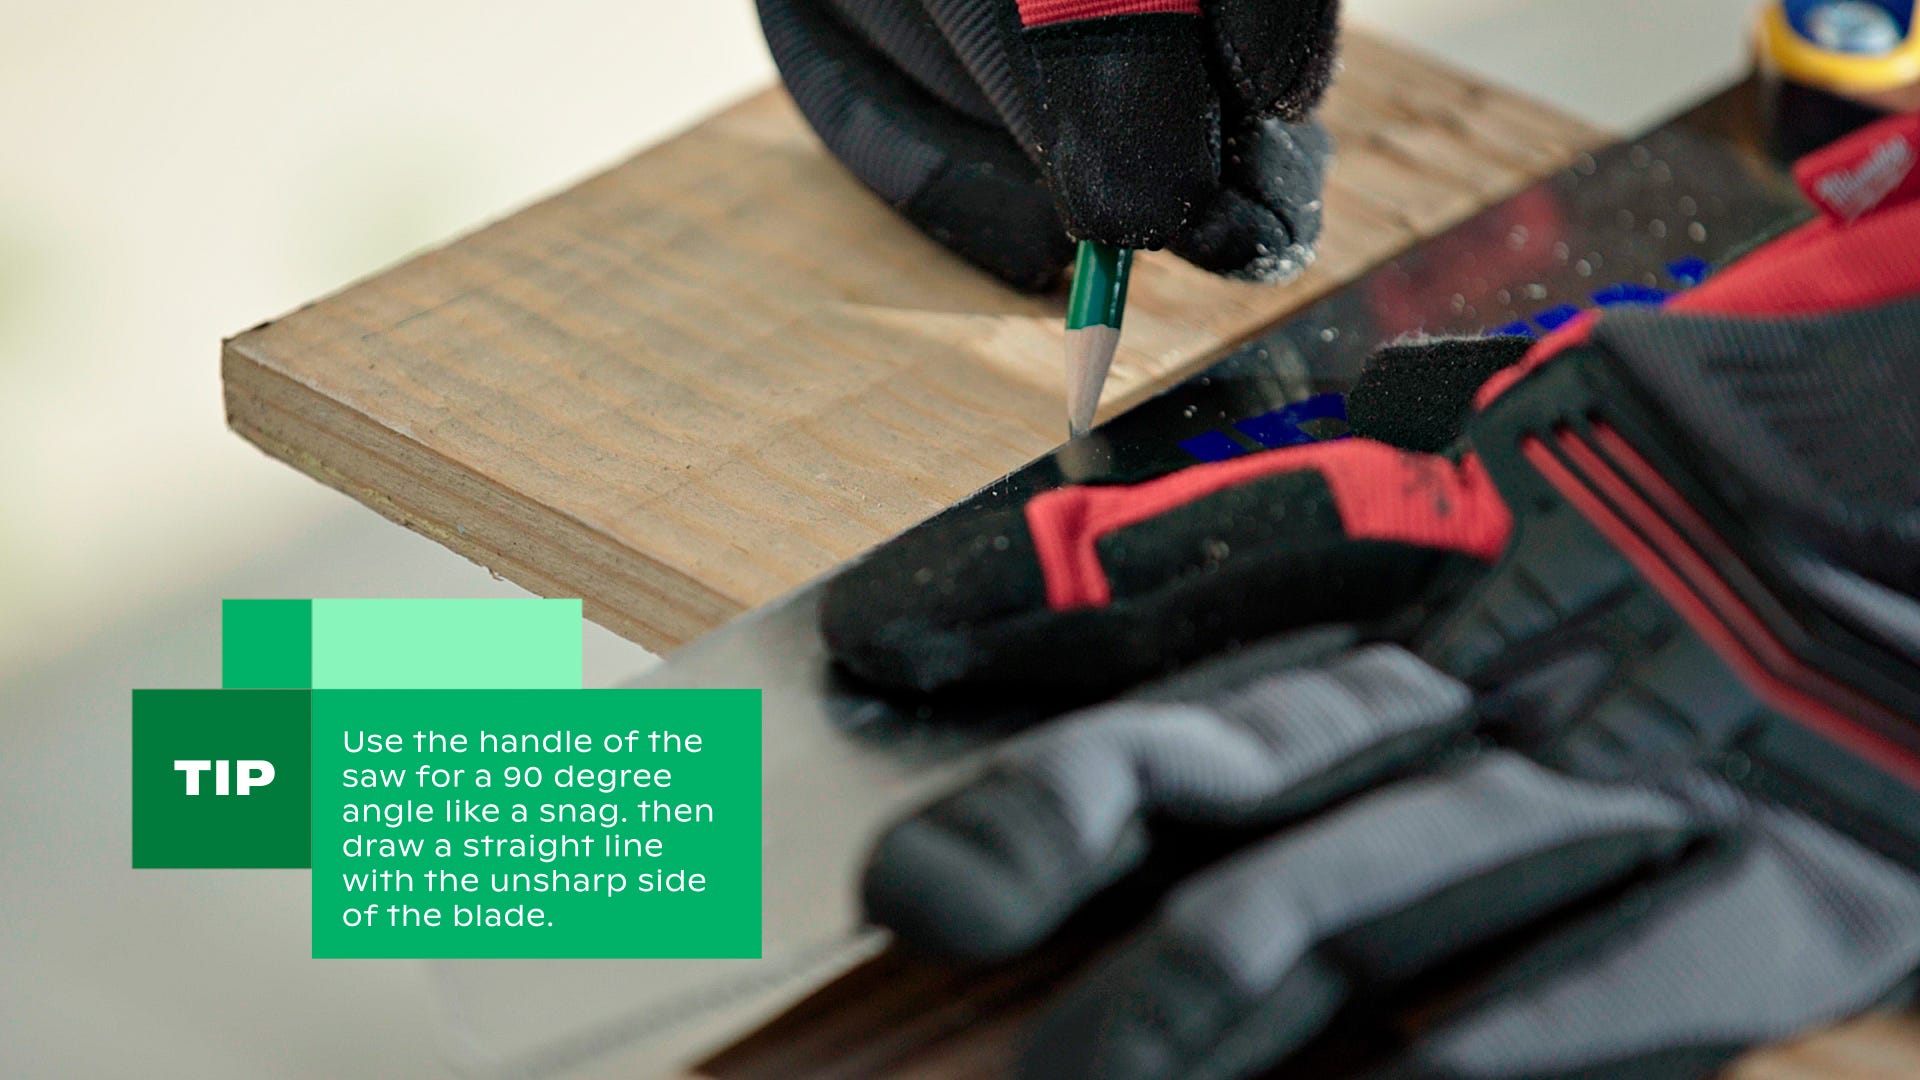
Step 1: Cutting the pieces
For the Lantern we are going to build we use 1 inch square wooden beams which we can cut into legs and spacers. We need 4 legs of 20 inches and 8 spacers of 10 inches. In the end we’re placing the lantern on a base plate of 15x15 inch board.

Step 2: Sand your pieces
Before assembling your lantern make sure your pieces are straight and sand them to get rid of any rough edges.

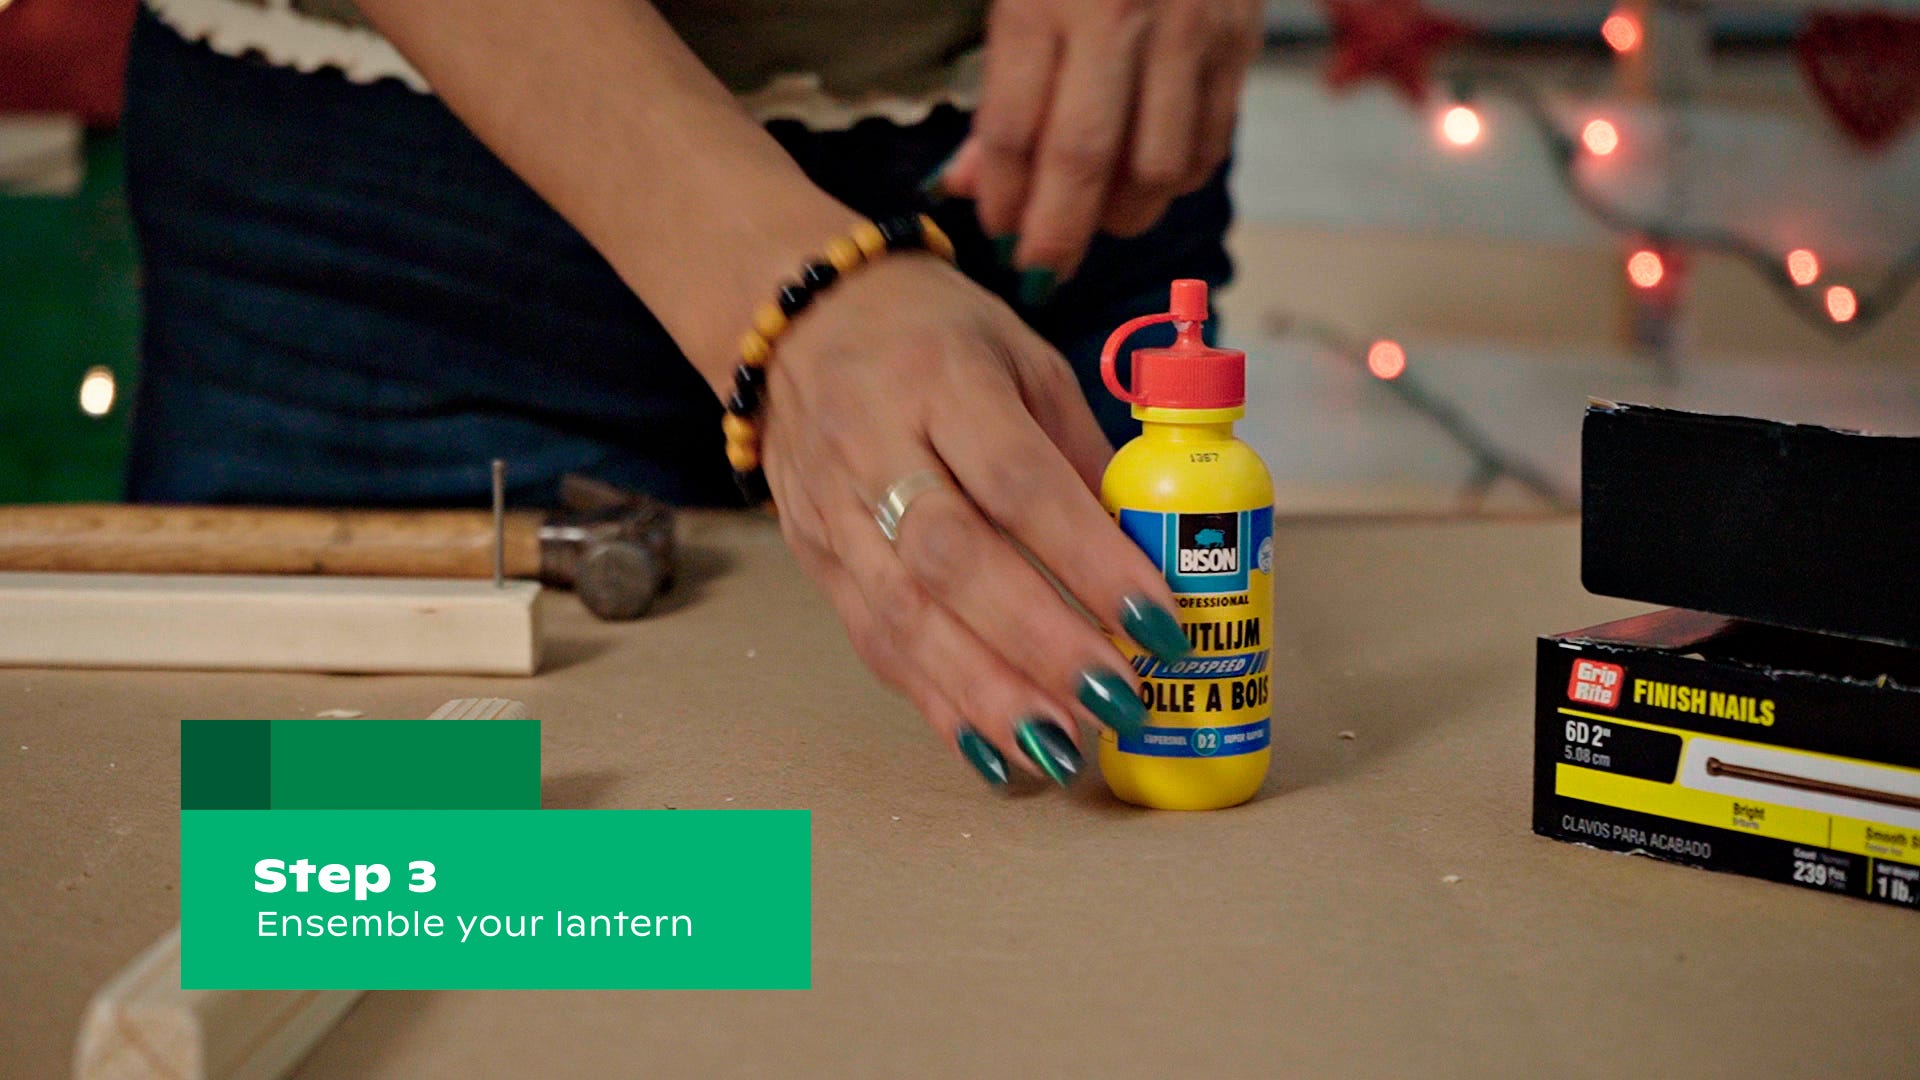
Step 3: Assemble your lantern
First we are going to make the 2 sides. Make a framework with 2 legs and 2 spacers. Put glue on one side of the spacers, then nail the leg and spacer together. When you have finished the 2 sides connect them in the same way with the rest of the spacers.
Now you have the cube, we are going to measure the base plate. Put the cube on the plank and add the thickness of your wooden beams to it. In our case the beam was 1x1 inch thick so the edge was 1 inch thick. When you have cut and sand your base plate, you can just put it on with 4 screws.
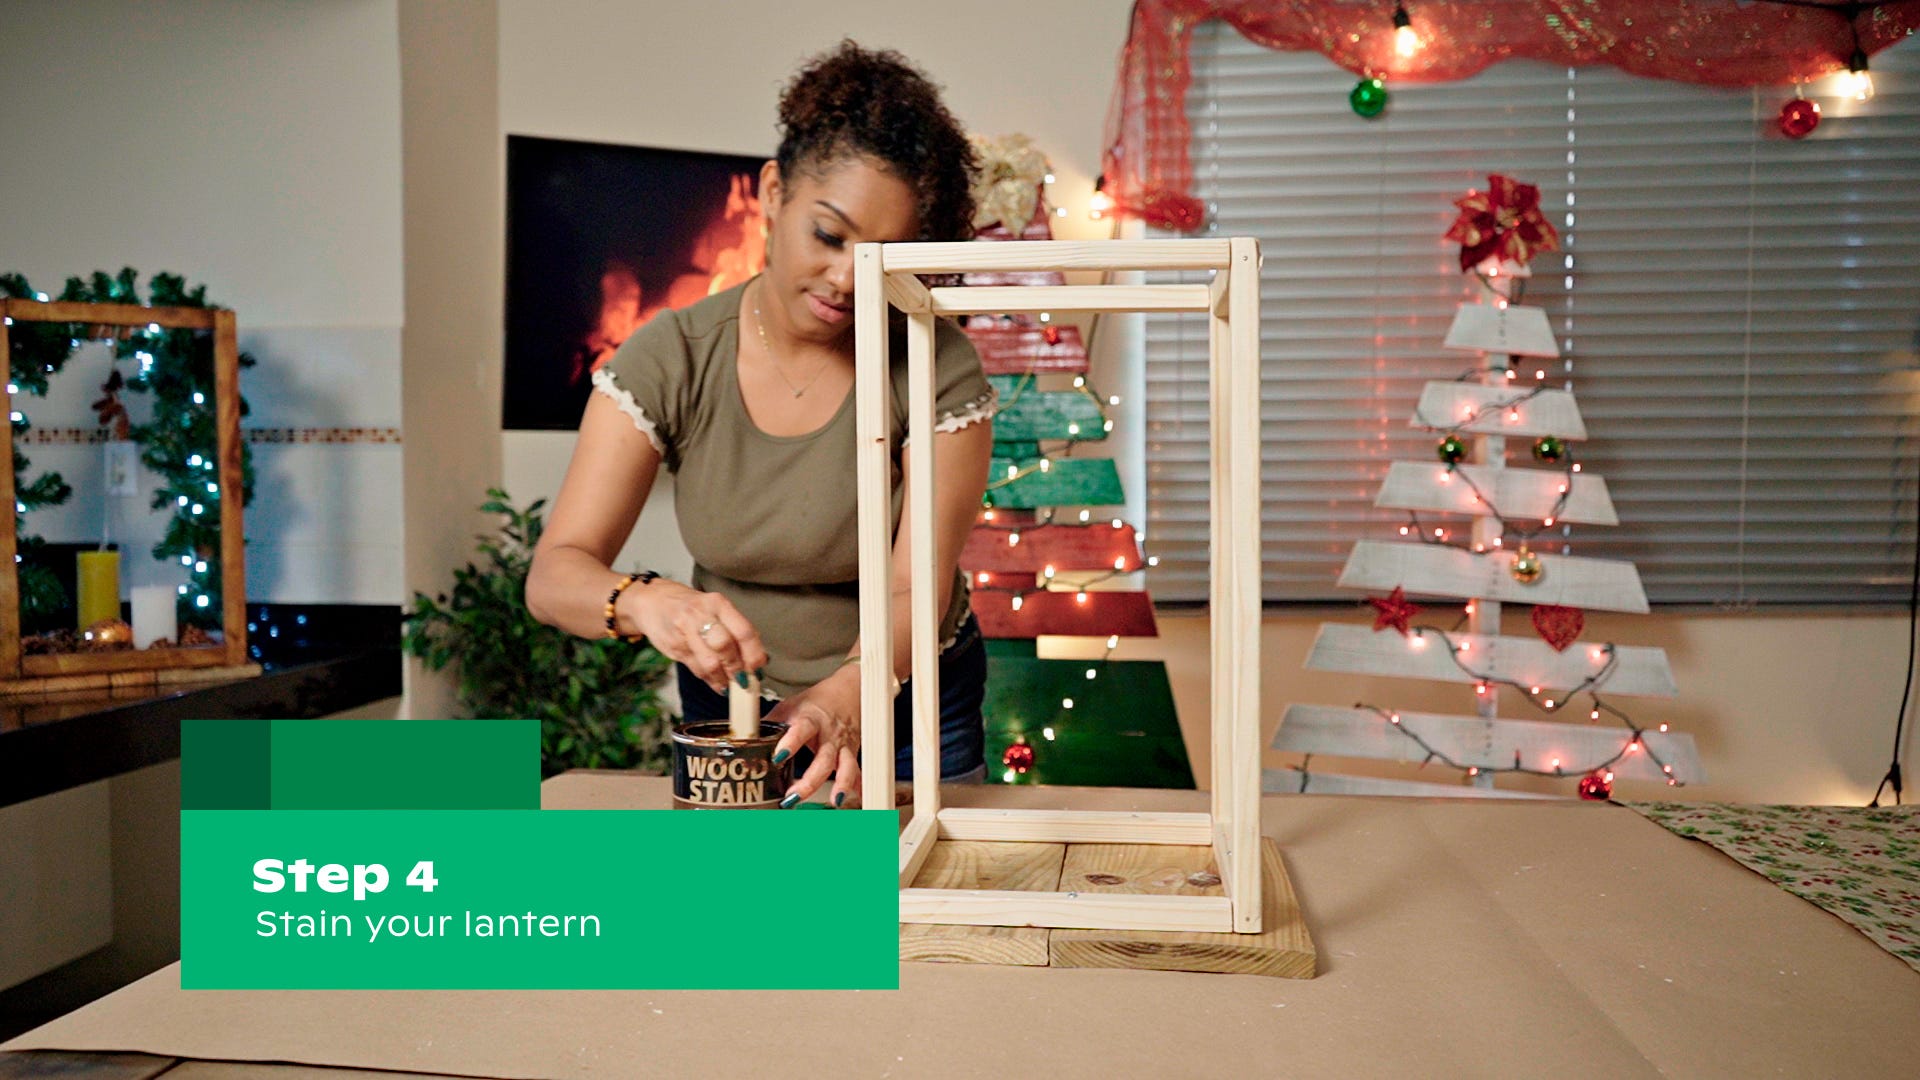
Step 4: Stain your lantern
After your lantern dries, you can apply a stain of your choice to get that nice rustic wood look. We are using an oil-based brush, but you can also use an old cloth or oil-based roller for different textures.
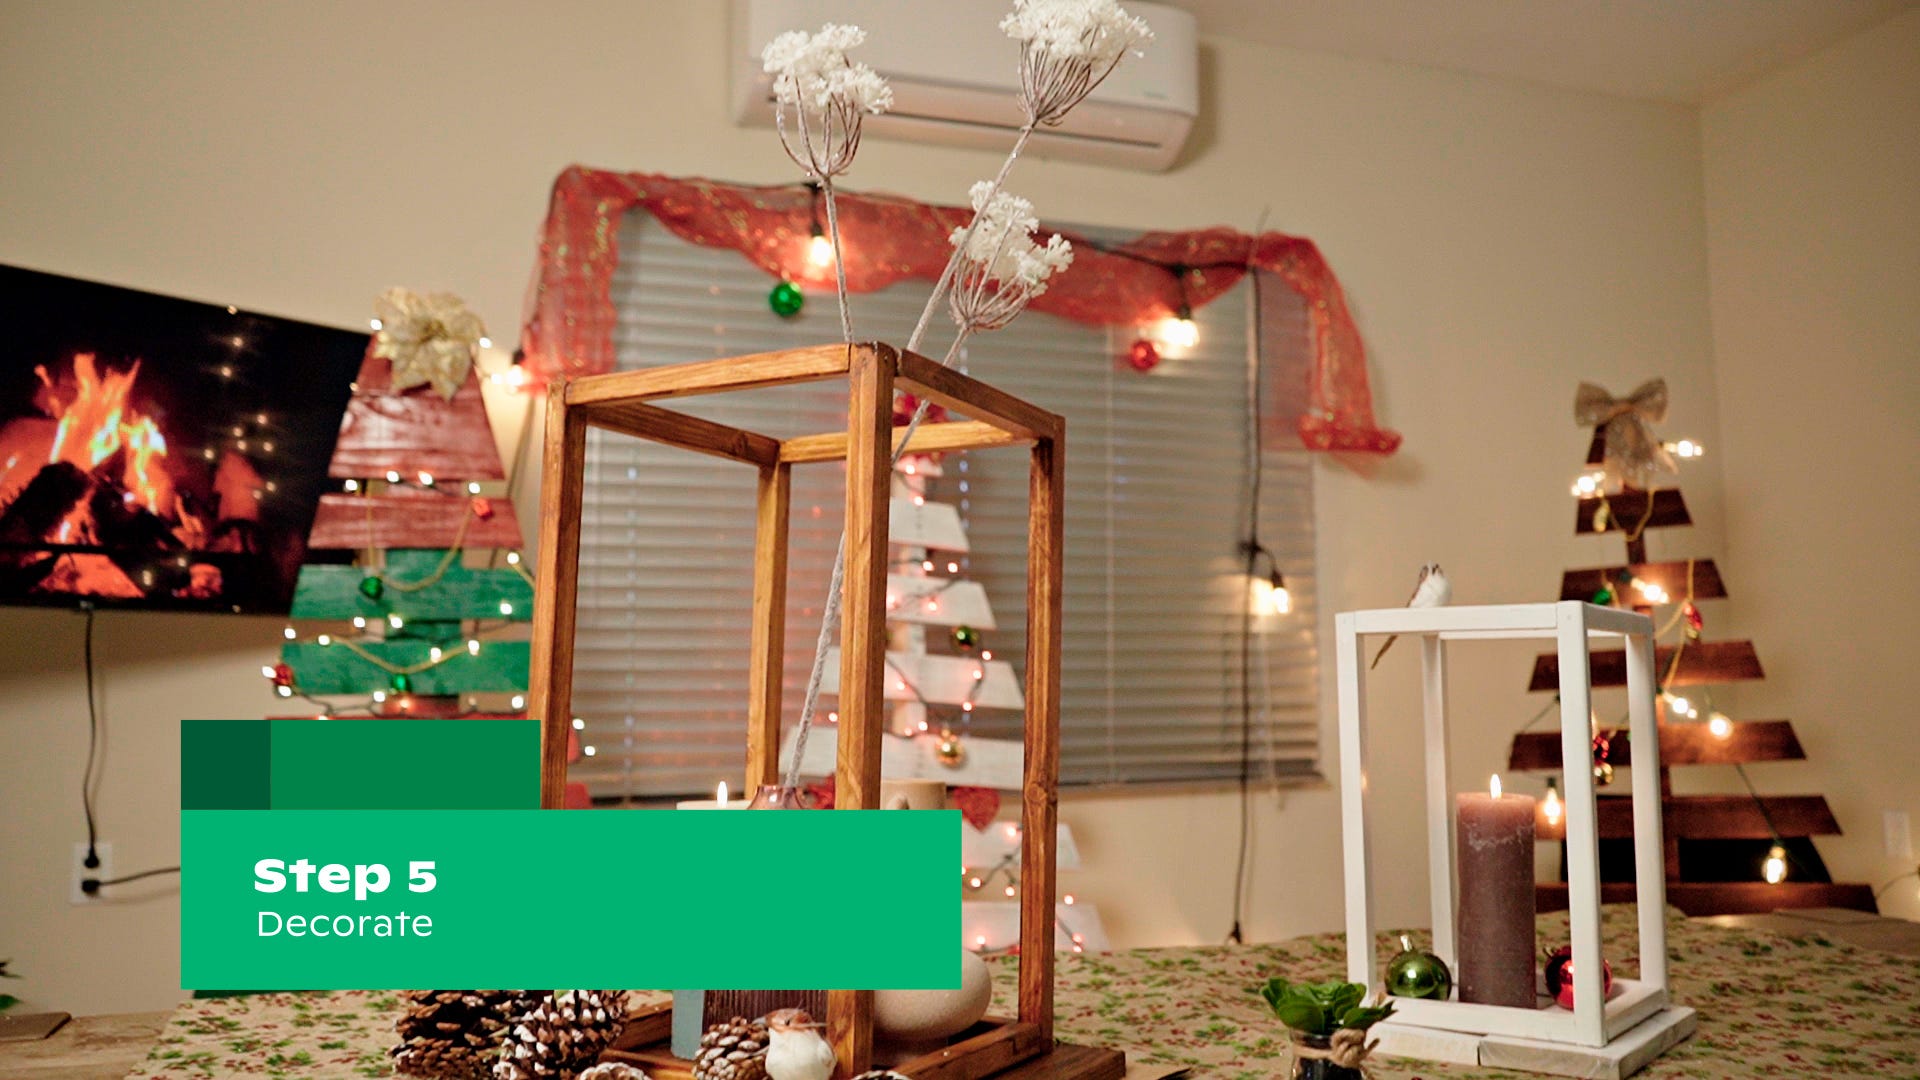
Step 5: Decorate
To further personalize the lantern you can add different windbreaker glasses and or moss/plants or Christmas balls to finish your centerpiece. Make multiple lanterns in different sizes to get a fun variation for your home decorations.